I used to write long articles and often ran into a very specific problem.
After finishing the main text, it looked fine on my computer.
But once viewed on a phone, it felt a bit tiring.
Screen after screen was just text. Readers hadn’t even reached the key points before their fingers wanted to scroll down.
This is when the easiest mistake happens: letting AI randomly add some images.
Images come out quickly.
But putting them into the article doesn’t always work well.
Some look like ad posters, some like decorative illustrations, and some have incorrect text in the images. What was once just dense text becomes chaotic.
baoyu-article-illustrator doesn’t start by drawing images.
It first reads the article, then decides where images are needed.
1. What Problem Does It Solve: Where Should Images Go
Official account articles need images, but often not just for aesthetics.
Some images are to make readers pause.
Some illustrate processes.
Some put several concepts together so readers can immediately see their relationships.
What really needs to be thought through first is:
Which paragraph really needs an image?
What effort does this image save the reader?
Should it be a flowchart, framework diagram, or comparison?
Can the style be consistent with previous and following images?
If you just say “add some images to this article,” AI easily turns this into decoration.
What these articles really need are explanatory images.
The design of baoyu-article-illustrator puts this judgment before generation.
Read first, then draw.
The order can’t be reversed.
2. See the Effect Directly: It First Provides Image Placement
Suppose I finish writing a deep dive Skill article, give the article to AI, and say:
Please use baoyu-article-illustrator to see where images are needed in this article.
Don’t add images just for the sake of images.
If only 1 image is needed, add only 1.
Keep the style techy, simple, and minimal.
It shouldn’t start generating images immediately.
It should first read the article and make a judgment:
Article type: tutorial / method breakdown / case study
Core content: problem, usage effect, implementation principle, possible improvements
Suitable image placement: after section 2, or before implementation principle
Image purpose: help readers see the main line, not decoration
Recommended type: flowchart / framework / comparison
Recommended style: notion / minimal-flat / tech explainer
Only then does it proceed to generation.
This step sounds slower but saves a lot of rework.
Because you’re not asking “can you generate images?”
You’re asking “where in this article is worth illustrating?”
3. How to Use: The Quickest Way to Get Started
This Skill is in Baoyu’s Skills repository:
https://github.com/JimLiu/baoyu-skills
Give this GitHub link to AI and say:
Help me install the baoyu-article-illustrator Skill from this repo.
After installation, the simplest usage is to give the article to AI:
Please read through this article first and judge which parts really need images.
Don’t add images just for the sake of images.
If only 1 image is needed for the whole article, add only 1.
If none are needed, you can tell me not to add any.
Keep the style techy, simple, and minimal.
This is better than saying “help me generate some images.”
The latter easily pushes AI into a filler mode.
The former makes it judge first.
4. How It Actually Works
This needs to be clear too.
baoyu-article-illustrator is more like a strict workflow Skill.
It mainly relies on Skill rules to guide AI, then calls the image generation capability in the current environment.
Looking at its directory, the core files are these types:
SKILL.md
references/workflow.md
references/prompt-construction.md
references/styles.md
references/style-presets.md
SKILL.md defines the rules.
workflow.md clarifies the process of “analyze first, then outline, then write prompt, then generate.”
prompt-construction.md tells AI that a prompt for one image can’t be casually written; it must specify layout, zones, labels, colors, style, and aspect ratio.
In Codex, it prefers the built-in imagegen.
In other environments, it might use other image backends like baoyu-image-gen.
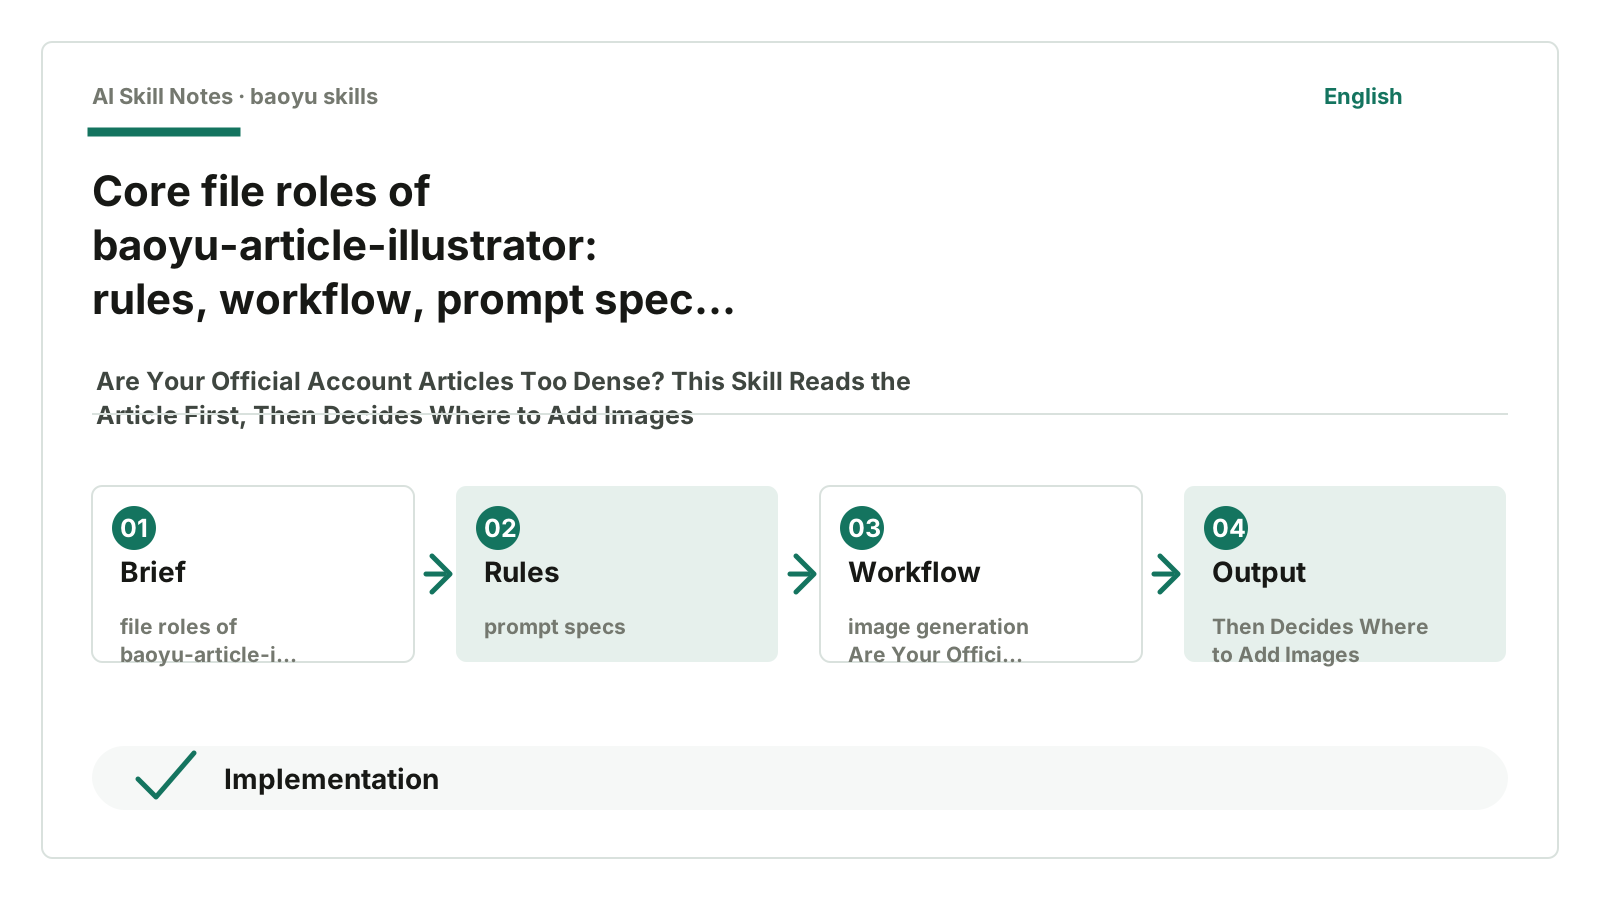
So its real chain looks like this:
Read article
-> Decide where images are needed
-> Write outline.md
-> Write prompt files for each image
-> Call image generation backend
-> Insert images back into Markdown
Note, two files are important:
outline.md
prompts/xx-xxx.md
outline.md records “why an image is needed here.”
Prompt files record “how exactly to draw this image.”
These two files keep the full story of image addition.
If an image is wrong later, you can revise the prompt and regenerate. Changing the image model still works with these prompts. After publishing, you can also look back to see why the image was inserted here.
5. Follow an Example to See How It Runs
Take a similar Skill deep dive article.
I give the whole article to AI, not just a sentence like “add images.”
AI reads the entire article.
After reading, it captures this main line:
Article main text
-> Read article first
-> Decide placement
-> Decide style
-> Keep style consistent
-> Insert back into text
So it decides: this article only needs one image.
Placement is best after section 2.
Because readers just finished “it first analyzes article structure,” giving an image immediately helps clarify this judgment process.
Then it generates an outline roughly like:
Position: after section 2, before section 3
Purpose: show the process of reading first, then deciding image placement
Type: framework
Style: notion / tech minimal
Filename: 02-flow-article-illustrator.png
Next, it writes a prompt file.
This prompt can’t just say “draw an image flowchart.”
It breaks down the image:
Left: article main text
Center: read article first
Right: placement / style / consistency
Far right: effect after inserting into article
Chinese labels: article main text, read article first, placement, style, consistency
Style: blue-gray main color, whitespace, clean UI cards
Aspect ratio: 16:9
Finally, it calls image generation.
After image generation, it inserts this Markdown line back into the article:

This is how it actually works.
It breaks image addition into several checkable files and steps.
6. Why It’s Useful: Several Practical Constraints
What’s worth learning from this Skill isn’t “it can generate images.”
Many tools can generate images.
Its strength lies in several constraints.
First, analyze the article first, don’t draw first
Its workflow includes an Analyze step.
It must first judge:
What type of article is this?
What are the core points?
Where can images help readers understand?
Where should images not be added?
This step blocks many unnecessary images.
Official account articles most fear adding images just for looks.
Pretty but useless images are still useless.
Second, write outline first, then prompt
Many people using image models just say:
Generate an image for this text.
That can produce images, but it’s hard to review.
baoyu-article-illustrator requires writing outline.md first, then prompt files.
This gives each image a reason and a record.
Even if generation fails, you know what to fix.
Third, prompts can’t be casually written
It has specific prompt requirements:
Write layout
Write zones
Write labels
Write colors
Write style
Write aspect ratio
This is like breaking down “drawing requirements” into design specs.
For example, don’t just say “make it techy,” write to this level:
Blue-gray main color
White background
Rounded cards
Thin arrow connections
Chinese labels keep only keywords
The model is more likely to generate images in this direction.
Fourth, no faking images with SVG
This Skill has a strict rule: since the goal is to generate bitmaps, don’t use SVG, HTML, Canvas, or similar to fake images.
This may seem minor but prevents shortcuts.
Articles need images that can be directly inserted into official accounts.
So follow the image generation flow.
Fifth, if text in images is wrong, don’t patch it forcibly
It also requires: if text in generated images is wrong, don’t cover it with code and patch.
The correct way is to revise the prompt and regenerate.
This fits the reality of official account images.
If text in images is wrong, readers immediately feel unprofessional.
7. If You Want to Write a Similar Skill
This kind of Skill doesn’t need complex scripts from the start.
More important is to clarify the workflow.
You can refer to this structure:
1. Trigger
Triggered when user says "add images," "article too dense," "generate illustrations," "visualize."

2. Input
An article file plus style preference, quantity preference, whether Chinese text is needed.

3. Analysis
Read the article first, find core points and where images are really needed.

4. Outline
Write down each image’s position, purpose, type, filename.

5. Prompt
Save a prompt file for each image, specifying layout, zones, labels, colors, style, aspect.

6. Generation
Call image backend, e.g., Codex imagegen or baoyu-image-gen.

7. Insert back
Insert generated images into the original article using Markdown image syntax.

8. Quality check
Check if Chinese text is correct, if images really help understanding, and if they’re not just decoration.
What’s most worth copying here isn’t a specific prompt.
It’s this order:
Judge if images are necessary first.
Explain why to draw.
Only then generate images.
8. Finally, a Copy-Paste Action Step
If you just want to use it:
Next time after finishing an article, just give the article to AI and say:
Please read through the entire article first and judge which parts really need images.
Don’t add images just for the sake of images.
If only 1 image is needed for the whole article, add only 1.
Keep the style techy, simple, and minimal.
If you want to learn to write one yourself:
Remember this design: the first step of an image-adding Skill is not to generate images.
The first step is to judge: what effort does this image save the reader?